BepulGPS Installation and User Guide
This guide provides the initial steps for setting up BepulGPS, logging into the system, and connecting your first device.
Download and Install
If you want to deploy your own instance of BepulGPS, start here. If you’re using one of our subscriptions, demo servers, or an already installed and ready version of BepulGPS, proceed to section 2.
You can download the installation package for your operating system from the download page.
For installation instructions, refer to the corresponding section on our main documentation page.
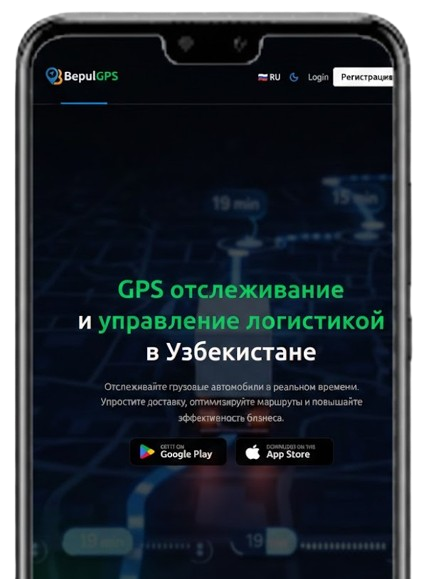
Open the Application
Open the server URL in your browser or use the BepulGPS mobile app.
If you’ve deployed your own server, the URL for local access is http://localhost:8082, and for external access — http://your.server.ip.address:8082.
In some older versions of BepulGPS, the administrator account is created automatically (login: admin, password: admin). In newer versions, no default user exists, so you’ll need to register. The first registered user automatically becomes an administrator. If you’re using a subscription, you’ll receive the URL and login credentials from us.
Register a Device
To register a device, click the (plus) icon on the devices panel.
You need to fill in the name and identifier fields. The name is optional, but the identifier must match the unique ID your device sends to the server. For most devices, it’s recommended to use the IMEI or serial number as a unique identifier.
If you don’t know your device’s identifier, first configure it to send data, then check the logs to find the identifier. For more details, see the troubleshooting guide.
Configure the Device
Set up your device to start sending location data to your server. For detailed configuration instructions for your specific device model, refer to its manual or contact the manufacturer.
If you’re running your own server, it must have a public IP address. Not all internet providers offer public IPs. Your current address appears to be 185.139.137.107, but if you’re connected via NAT, this may not be your permanent address. If you don’t have a public IP, you can use a VPS or our hosting services.
To choose the correct port number, find your device in the supported devices list. The 'Port' column shows the default Traccar port for your device.
Ready to get started?
Follow these steps to set up your BepulGPS system and start tracking your devices in no time.
Download the mobile app
Track your movements with the Bepul GPS app